What is a JTL Cloud App?
A JTL app is a software application that connects to JTL products or services through the API infrastructure. Apps can:- Extend the functionality of JTL products
- Integrate in JTL products
- Provide specialized processes or tools for specific business needs
- Automate workflows between JTL and other systems
- Frontend: your app’s UI, rendered inside an iframe within the JTL ERP Cloud. Built with any web framework (React, Vue, or plain HTML).
- Backend: your server-side code that authenticates with JTL’s Identity Provider, calls the JTL Cloud and JTL-Wawi API, and serves your frontend.
postMessage.
Your backend authenticates independently using OAuth 2.0 client credentials and calls the JTL Cloud API with a JWT access token.
Integration Types
Cloud Apps support three integration types. Each type determines where your app appears, how it communicates, and what kind of experience it provides.| Type | UI | Communication | Use case |
|---|---|---|---|
| Hub-Link | Card in JTL Hub | Redirect to your URL | Entry points, external tools, dashboards |
| ERP-iFrame | Embedded in ERP main content | AppBridge messages | Rich interactive UI within the ERP |
| Pane | Sidebar in ERP | AppBridge messages | Context-aware panels (e.g., customer detail sidebar) |
manifest.json and app registration through the Partner Portal.
Hub-Link
A Hub-Link app adds a card to the JTL Hub dashboard. When a merchant clicks it, the platform redirects them to yourappLauncher.redirectUrl. This is the simplest integration type: no iframe, no AppBridge, just a redirect.

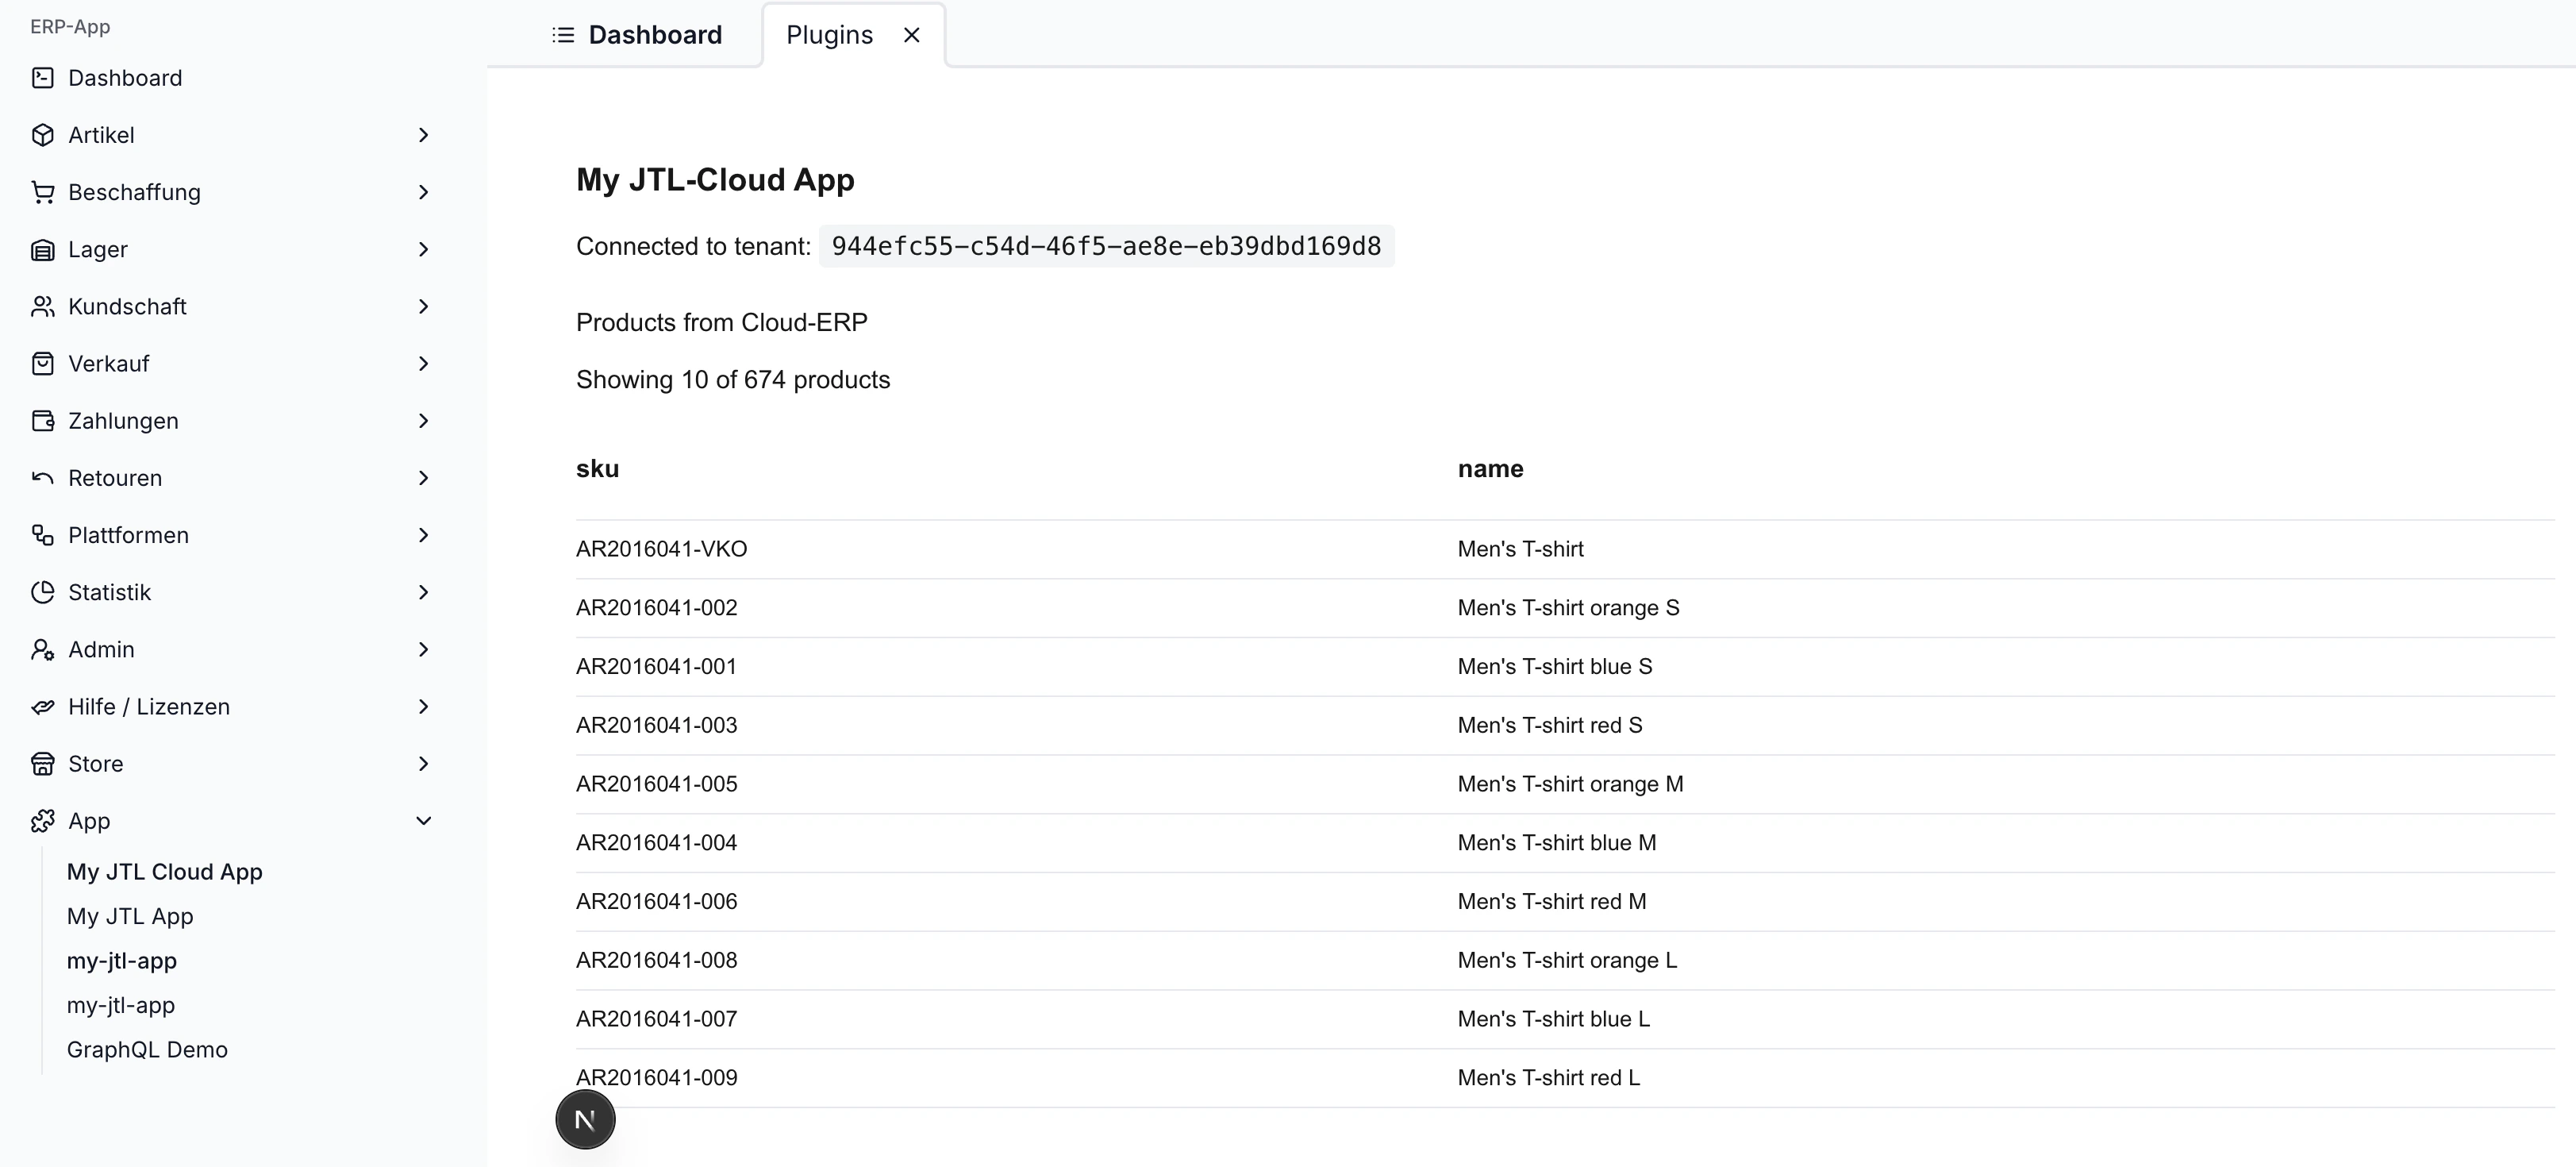
ERP-iFrame
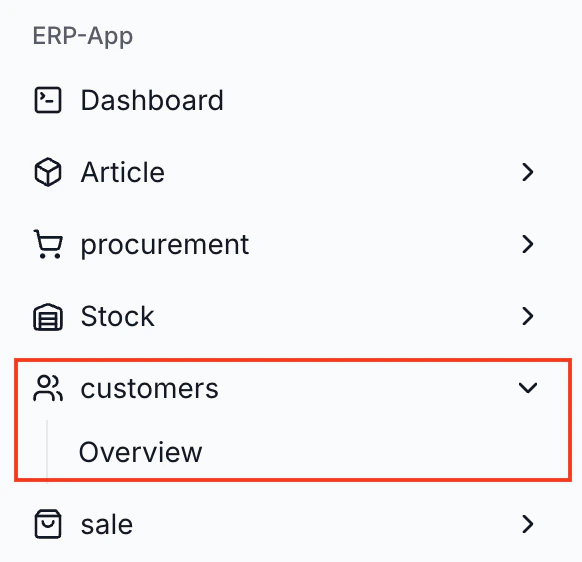
An ERP-iFrame app renders inside the main content area of ERP Cloud. Your frontend loads in an iframe and communicates with the host through the AppBridge. You define where your app appears usingmenuItems in the manifest, which adds entries to the ERP sidebar under App menu item.
Pane
A Pane app renders as a sidebar panel on the right side of the ERP content area. Like ERP-iFrame apps, Panes have full access to the AppBridge. The difference is purely UI placement: Panes appear alongside existing ERP views rather than replacing them.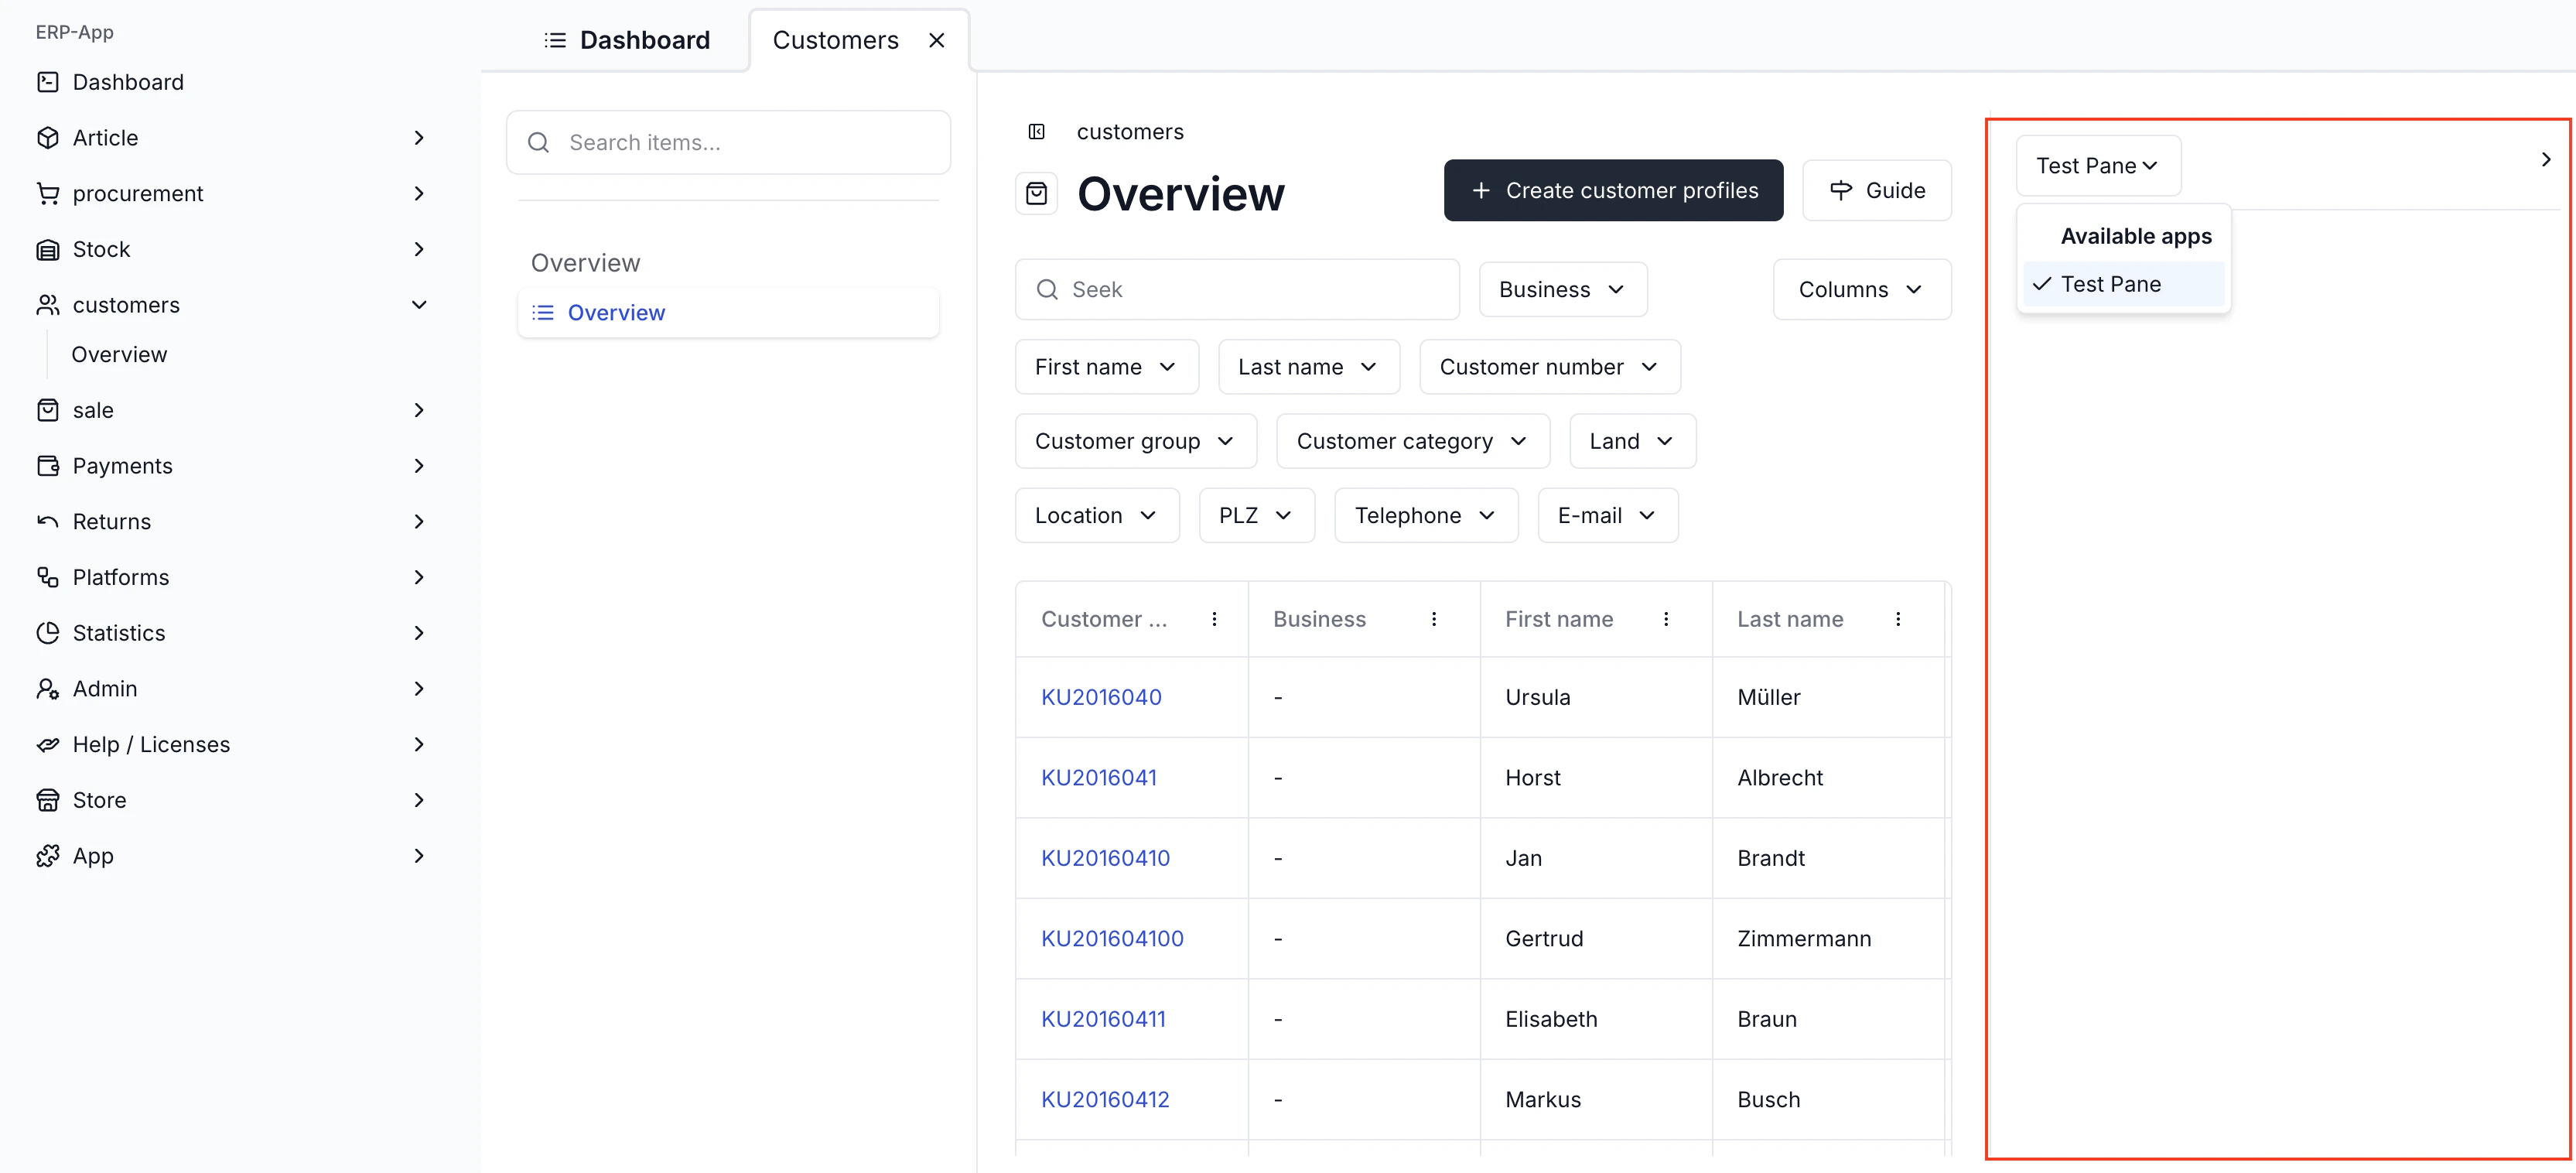
context field, and control whether it shows on child views with matchChildContext.
context field uses a special syntax to refer to specific views in the ERP Cloud. The $tenantSlug refers to the current tenant, and the following text is the name of the view. For example, $tenantSlug.customers refers to the customers view in the current tenant’s ERP.
App Installation Flow
Merchants discover and install apps from the App Store. The installation process grants your app the permissions it needs to access the merchant’s data.Browse and select
The merchant browses the App Store and selects an app.
Review and install
On the app’s detail page, the merchant reviews the description, screenshots, and required permissions, then clicks Install.
Permissions granted
The platform grants your app the scopes declared in your manifest. This happens automatically as part of the installation. The merchant does not need to approve individual scopes in a separate consent screen.
Authentication Flows
Every Cloud App gets an OAuth client with aClientId and ClientSecret when registered in the Partner Portal. When a merchant installs your app, it receives access to that merchant’s tenant without the credentials changing. One set of credentials works across all tenants that install your app.
Machine-to-Machine (M2M)
Use this flow when your backend needs to call JTL Cloud APIs without any user interaction. Your backend authenticates directly with the Identity Provider using client credentials.- Your backend sends its
ClientIdandClientSecretto the Identity Provider. - The Identity Provider validates the credentials and returns a JWT access token.
- Your backend uses the token (along with the
X-Tenant-IDheader) to call the JTL Cloud API. - The API processes the request and returns the data.
Frontend-Initiated
Use this flow when your app has a frontend running in an iframe. The frontend gets a session token from the AppBridge, passes it to your backend, and the backend handles both session validation and API authentication.Get session token
The frontend requests a session token from the AppBridge. This token contains the current user’s identity and tenant information.
Authenticate and validate
Your backend does two things in parallel: requests an access token from the Identity Provider (client credentials), and validates the session token against JTL’s Account Service using JWKS.
What’s Next
App Shell & UI Integration
Learn how the AppBridge, iframe messaging, and Platform UI components work.
Authentication & Login
Implement OAuth 2.0 and session token flows in your app.
Using Platform APIs
Call the JTL Cloud and JTL-Wawi APIs from your backend with proper headers and scoping.