

What is a JTL Cloud App?
A JTL app is a software application that connects to JTL products or services through the API infrastructure. Apps can:- Extend the functionality of JTL products
- Integrate in JTL products
- Provide specialized processes or tools for specific business needs
- Automate workflows between JTL and other systems
- Frontend: your app’s UI, built with a web library like React. It renders inside an iframe within the JTL Cloud ERP, or on your own domain.
- Backend: your server-side code that authenticates with JTL’s Identity Provider, calls the JTL Cloud and JTL-Wawi API, and serves your frontend.
postMessage. The backend authenticates using OAuth 2.0 client credentials and calls the JTL Cloud API with a JWT access token.
Where your app renders and how it gets identity are separate choices. See Integration Types for the first and Authentication Flows for the second.
Integration Types
Cloud Apps support four integration types. Each type determines where your app appears and how it communicates. An app can declare more than one.
All four types require an
app.json manifest and app registration through the Partner Portal.
Hub-Link
A Hub-Link app adds a card to the JTL Hub dashboard. When a merchant clicks it, the platform redirects them to yourappLauncher.redirectUrl. This is the simplest integration type: no iframe, no AppBridge, just a redirect.

ERP-iFrame
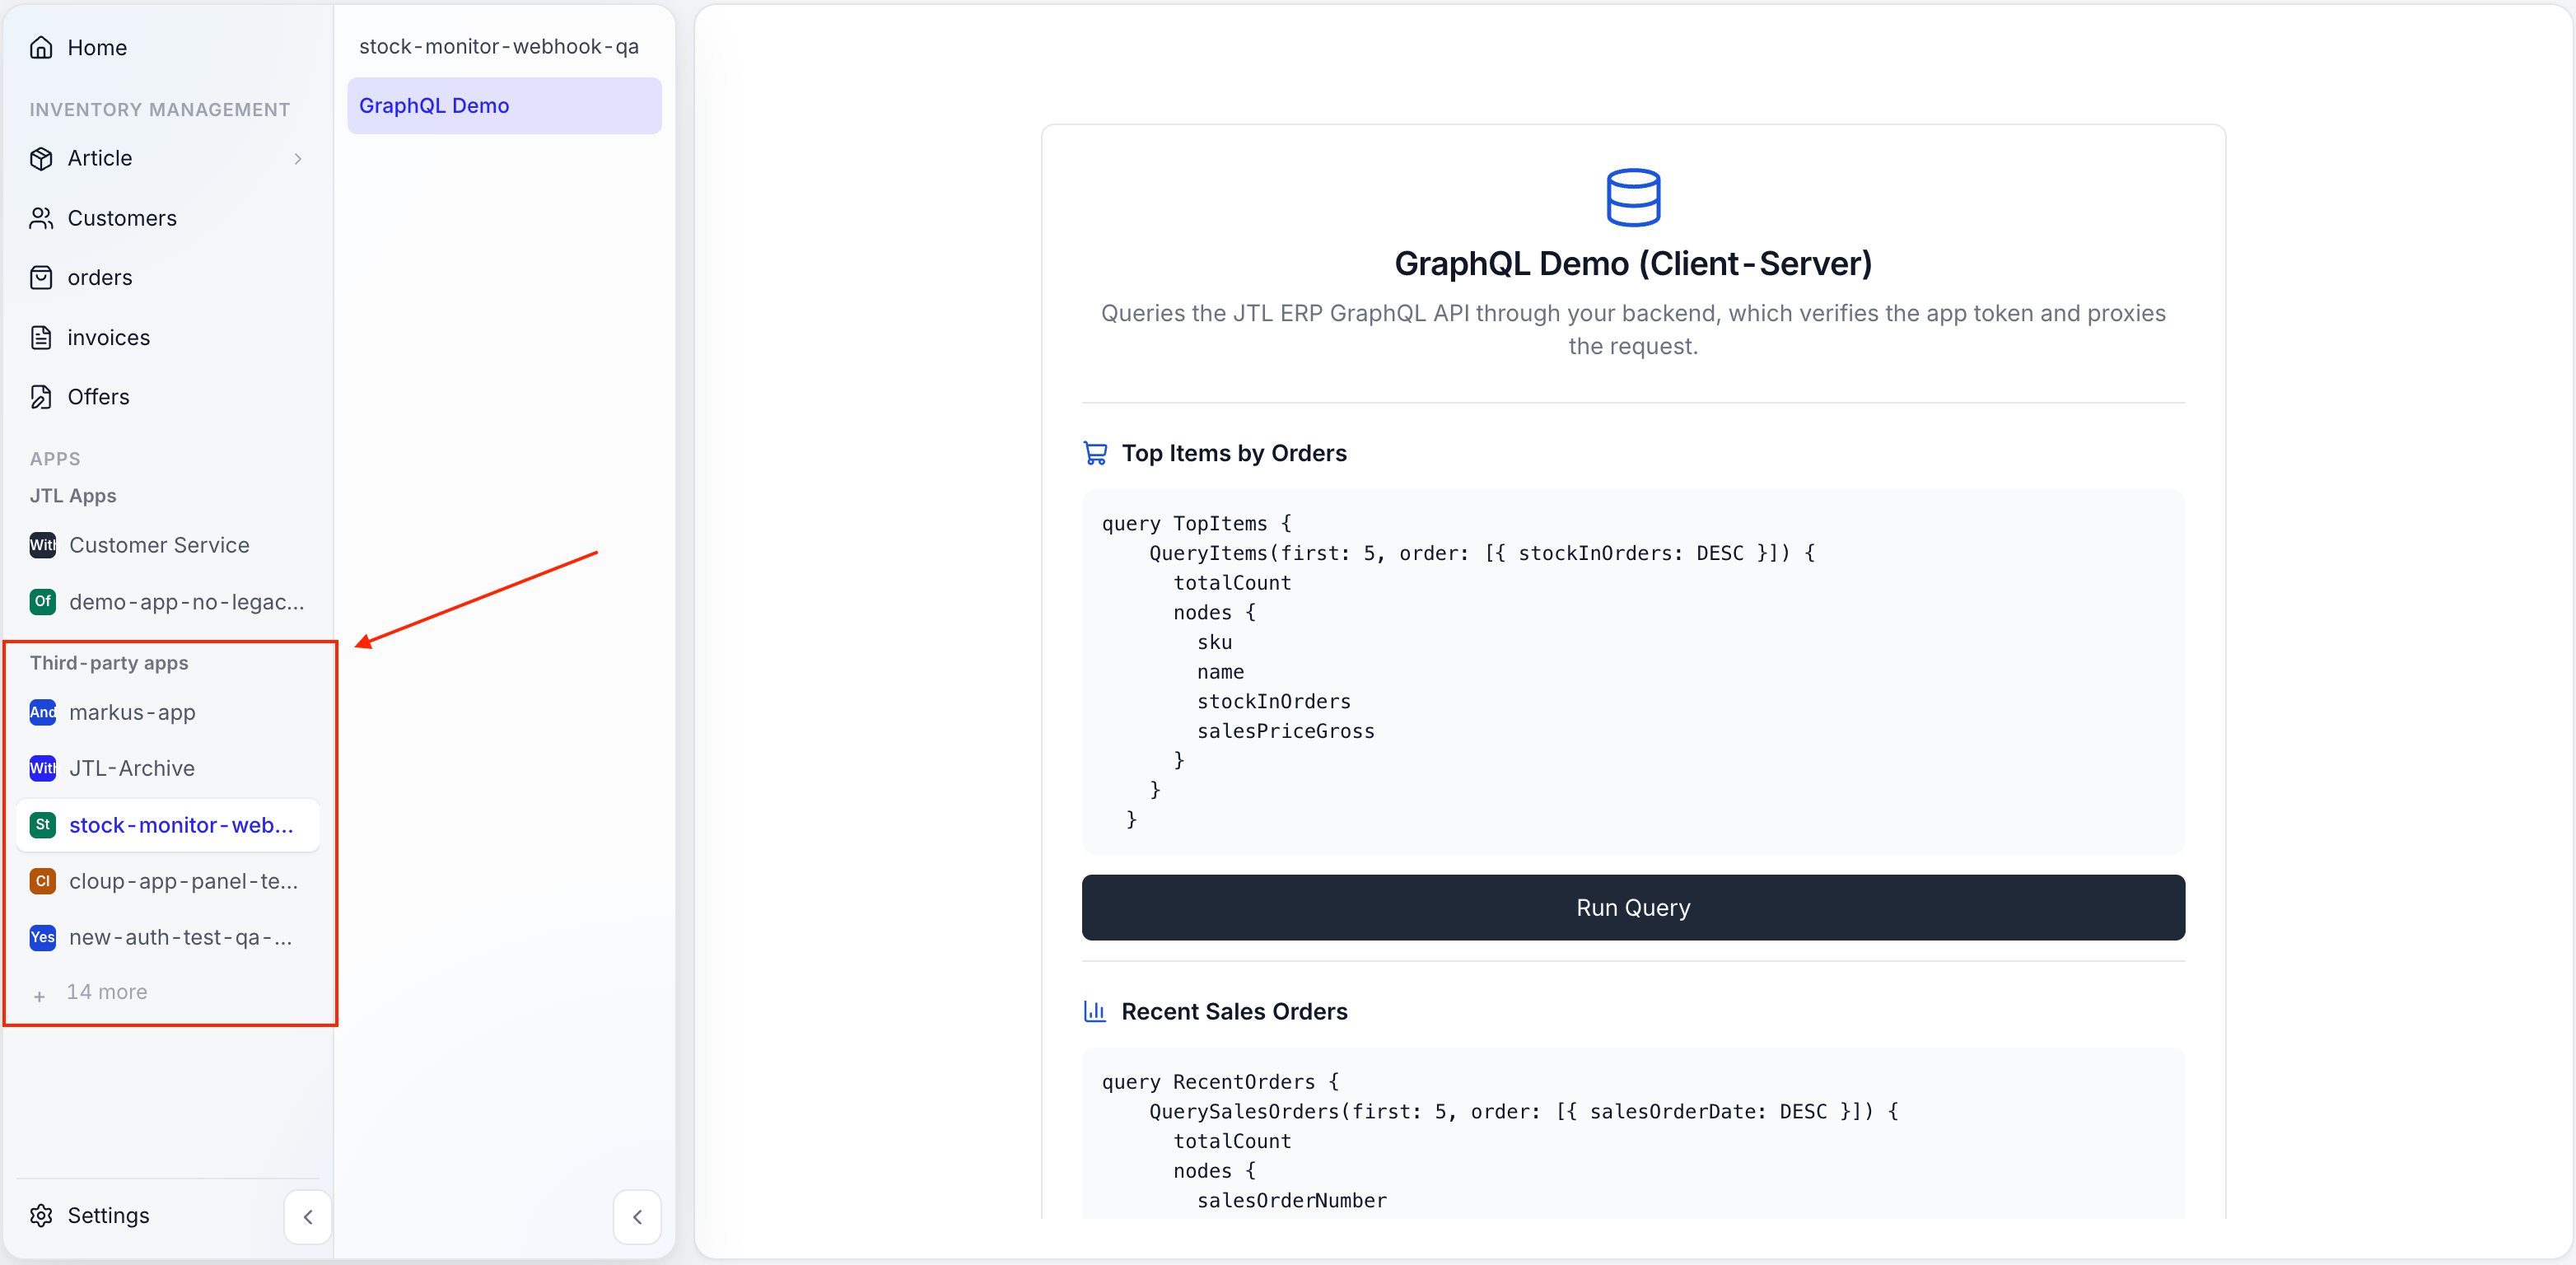
An ERP-iFrame app renders inside the main content area of Cloud ERP. Your frontend loads in an iframe and communicates with the host through the AppBridge. You define where your app appears usingmenuItems in the manifest, which adds entries to the ERP sidebar under Third-party Apps menu item.
Panel
A Panel app renders as a resizable sidebar on the right side of the ERP content area. Like ERP-iFrame apps, Panels have full access to the AppBridge. The difference is purely UI placement: Panels appear alongside existing ERP views rather than replacing them.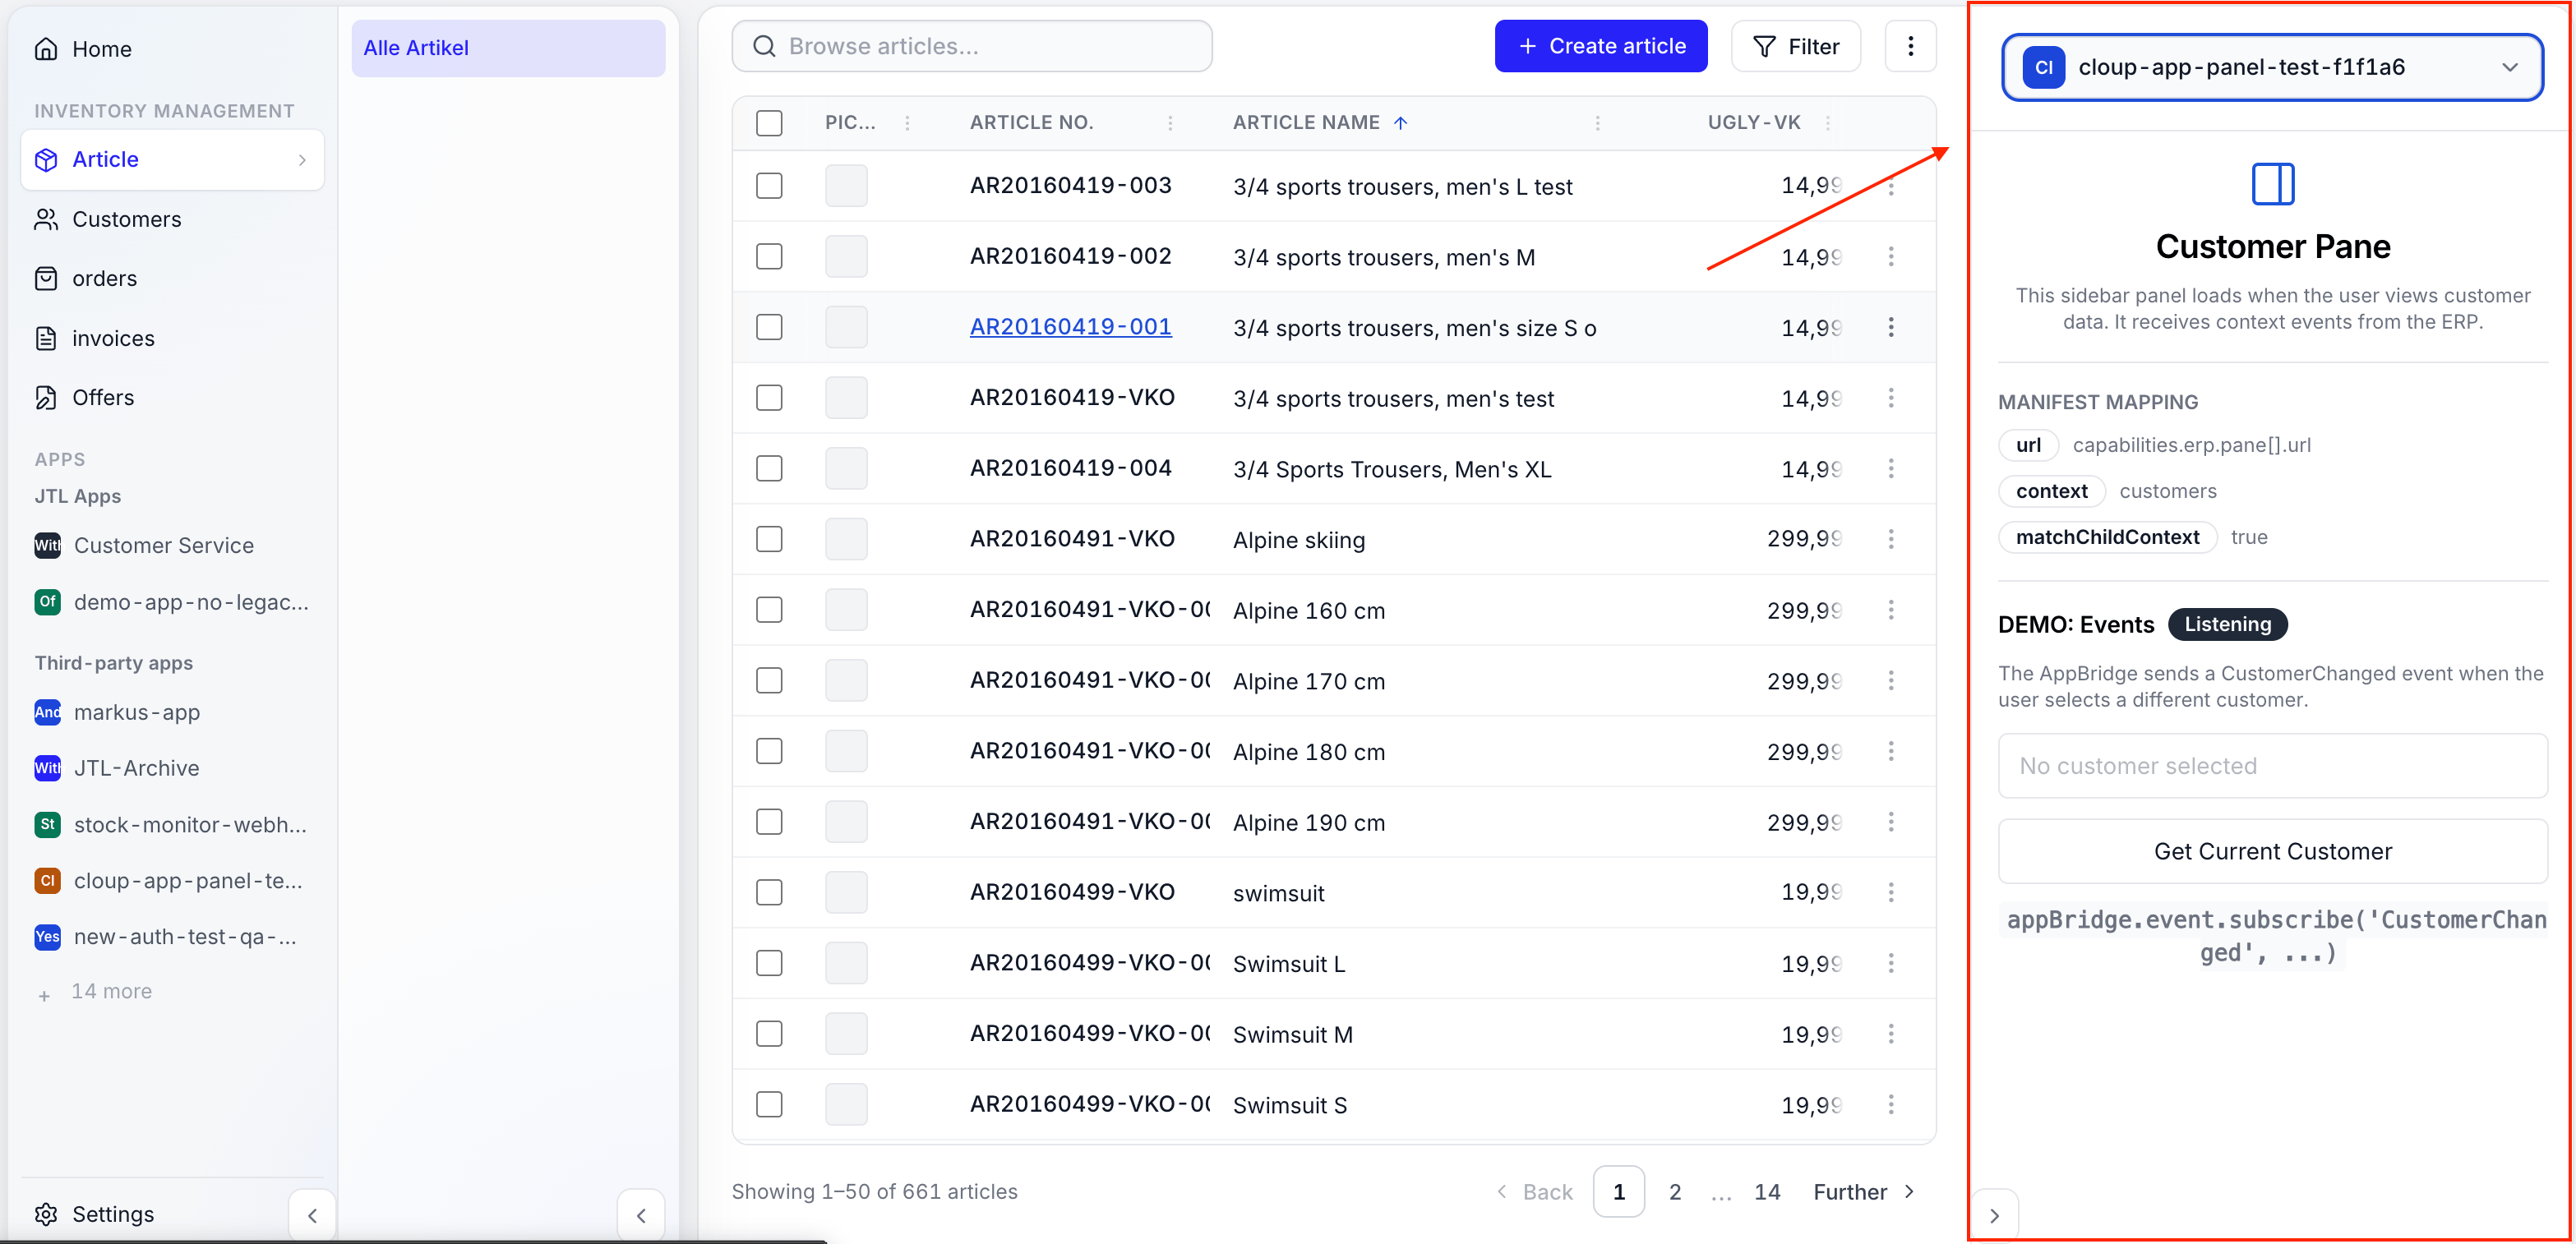
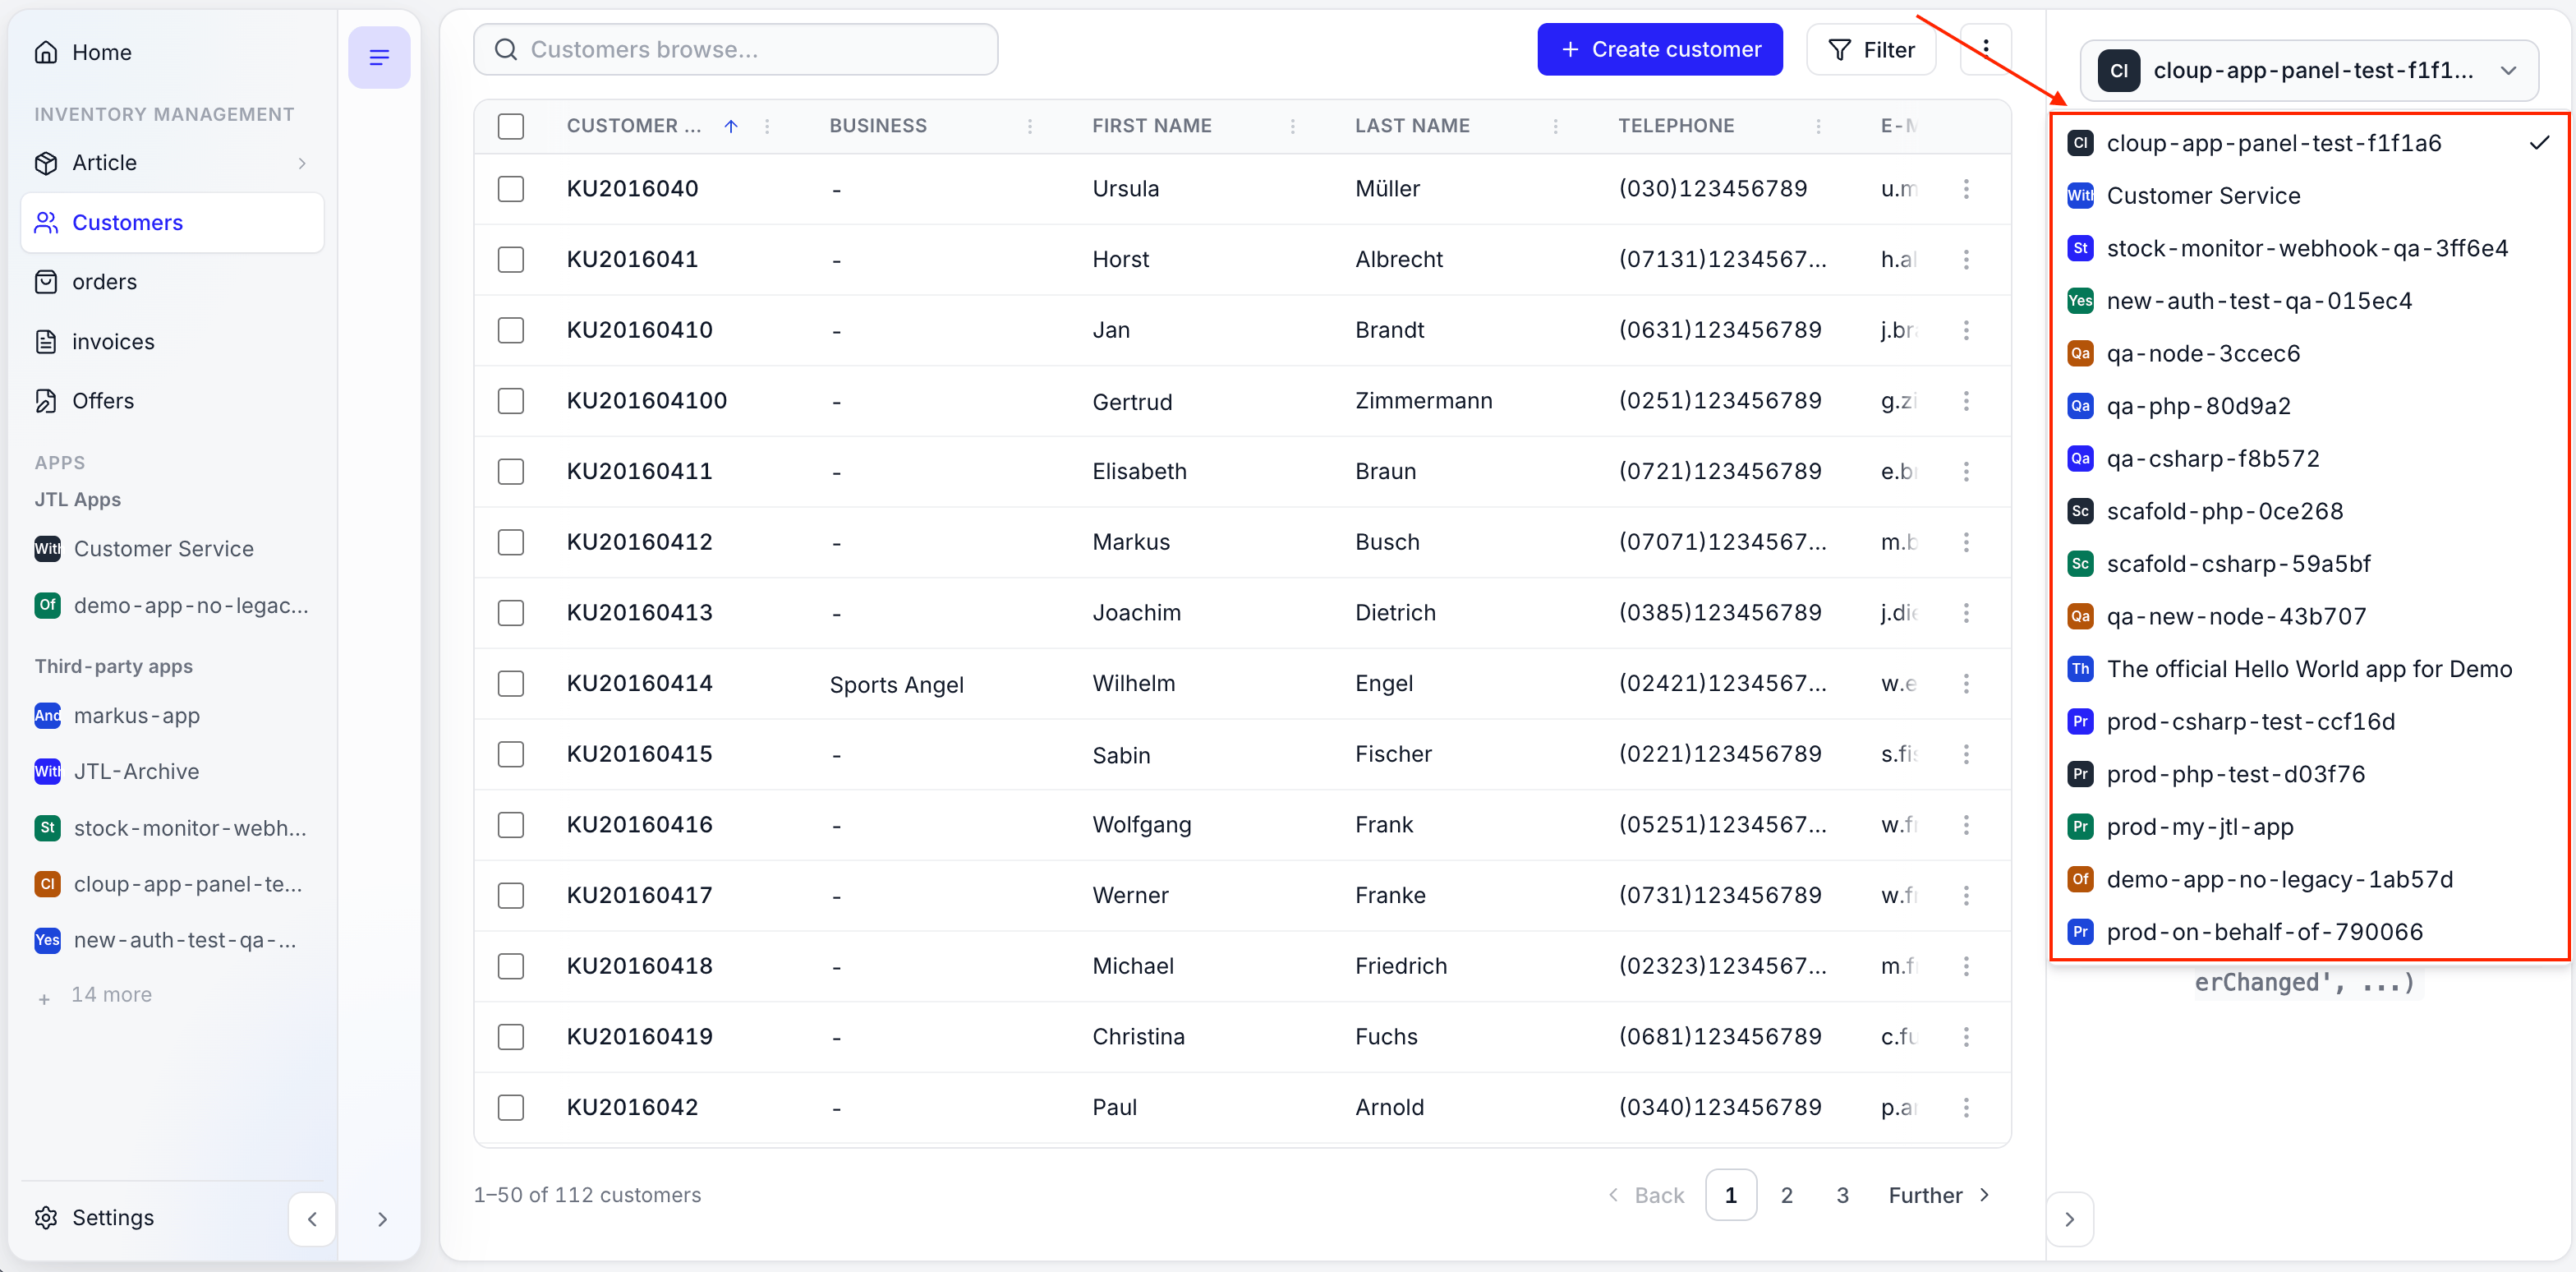
context field.
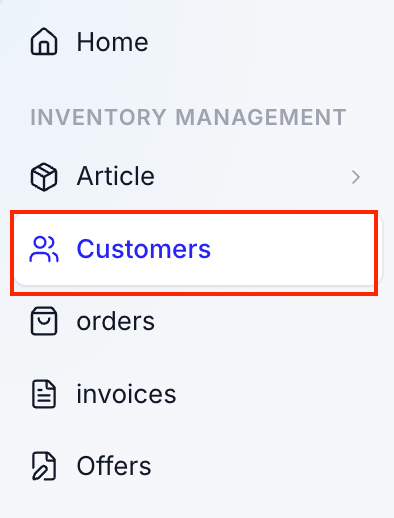
context field is the Cloud ERP route path. For example, customers refers to the Customers view. A panel also stays visible on the descendant routes of its context, so customers covers both the customer list and a specific customer’s detail view. See Panel Contexts for the available values.
Headless
In development: Tenant discovery for headless apps is not yet available. A headless app can authenticate and call the API, but has no supported way to learn which tenants have installed it. This section will be updated when the endpoint ships.
App Installation Flow
Merchants discover and install apps from the App Store. The installation process grants your app the permissions it needs to access the merchant’s data.1
Browse and select
The merchant browses the App Store and selects an app.
2
Review and install
On the app’s detail page, the merchant reviews the description, screenshots, and required permissions, then clicks Install.
3
Permissions granted
The platform grants your app the scopes declared in your manifest. This happens automatically as part of the installation. The merchant does not need to approve individual scopes in a separate consent screen.
4
App active
The app is now active in the merchant’s environment. Depending on the integration type, it appears as a Hub card, ERP menu item, or sidebar panel.
If you add scopes to your manifest, existing installations keep their current scopes until an admin re-consents to the new ones in the Hub. If you remove scopes, they are removed from all installations automatically. See Updating Scopes After Registration.
Authentication Flows
Every Cloud App gets an OAuth client with aClientId and ClientSecret when registered in the Partner Portal. When a merchant installs your app, it receives access to that merchant’s tenant without the credentials changing. One set of credentials works across all tenants that install your app.
The authentication object in your manifest declares which flows those credentials can use. See Authentication in the manifest reference.
Machine-to-Machine (M2M)
Use this flow when your backend needs to call JTL Cloud APIs without any user interaction. Your backend authenticates directly with the Identity Provider using client credentials.- Your backend sends its
ClientIdandClientSecretto the Identity Provider. - The Identity Provider validates the credentials and returns a JWT access token.
- Your backend uses the token (along with the
X-Tenant-IDheader) to call the JTL Cloud API. - The API processes the request and returns the data.
Frontend-Initiated
Use this flow when your app has a frontend and a backend. The frontend gets an app token from the AppBridge and sends it to your backend, which verifies it and calls the JTL Cloud API with its own service account credentials.1
Get an app token
The frontend calls
getAppToken on the AppBridge. The token identifies the current user and the tenant they belong to.2
Send to backend
The frontend sends its request to your backend with the token in the
Authorization header.3
Verify and read the tenant
Your backend verifies the token’s signature against the identity provider’s public keys, checks that its audience matches your app, and reads the tenant from its claims.
4
Fetch and return
Your backend requests an access token with its service account credentials, calls the JTL Cloud API with that token and the tenant ID, and returns the response to the frontend.
Browser-Direct
Use this flow when your app has a frontend and no backend. The frontend gets an app token and calls the JTL Cloud API with it. The tenant is bound into the token, so no tenant header is needed. Calls made this way are governed by the signed-in merchant’s own JTL-Wawi permissions rather than the scopes declared in your manifest. See Scopes & Permissions.Browser Sign-In
Use this flow when your app runs on your own domain and you want to sign in merchants using their JTL account. The app redirects to the platform identity provider, receives an authorization code at one of its declared redirect URIs, and exchanges it for tokens.1
Redirect to sign-in
The app redirects the merchant’s browser to the platform identity provider, using authorization code with PKCE.
2
Receive the code
After the merchant signs in, the provider redirects back to one of the
redirectUris declared in your manifest, with an authorization code.3
Exchange for tokens
The app exchanges the code for an access token, an ID token, and a refresh token. The ID token carries the merchant’s identity claims.
4
Call the API
The app calls the JTL Cloud API with the access token, and refreshes it when it expires.
@jtl-software/cloud-apps-auth library handles the redirect, code exchange, and token refresh for you. See Standalone Authentication for the implementation.
Choosing a Flow
Each flow maps to what you declare in the manifest and to the options you select when creating the app with the CLI.
Selecting a frontend adds
publicClient to the manifest, and selecting a backend adds serviceAccount. An app with both can use either flow, depending on where its frontend runs.
What’s Next
App Shell & UI Integration
Learn how the AppBridge, iframe messaging, and Platform UI components work.
App Token Authentication
Verify the app token in your backend and read the tenant from its claims.
Using Platform APIs
Call the JTL Cloud and JTL-Wawi APIs from your backend with proper headers and scoping.